Introduction: The Unseen Eye of Modern Security
In the realm of security surveillance, the camera is often lauded for its sensor, its processing power, and its intelligent analytics. However, the critical component that literally shapes the light entering the system—the lens—is frequently overlooked. At Hector Weyl, where we pioneer advanced imaging solutions for complex security scenarios, we understand that a superior sensor is only as good as the lens projecting an image onto it. The lenses used in security cameras adhere to the same fundamental principles of optics as those in professional photography and cinematography. This comprehensive guide delves into the intricate world of security camera lenses, explaining the optical principles, key parameters, and practical considerations that define their performance, empowering you to make informed decisions for your security infrastructure.
 Part 1: Core Optical Principles - Focal Length and Angle of View
1.1 Focal Length: The Fundamental Metric
Focal length, often simply called ‘focus distance’ in optical engineering, is a measure of how strongly a lens converges or diverges light. Defined technically, it is the distance from the optical center of a lens to the image sensor (e.g., a CMOS sensor) when the subject is in focus. In security cameras, convex lenses are universally employed, resulting in a positive focal length. This means that a parallel beam of light passing through the lens will be focused to a single point on the sensor plane.
The focal length is the primary determinant of the magnification and field of view of a camera. It is typically measured in millimeters (mm). A shorter focal length (e.g., 2.8mm) provides a wider, more expansive view, making it ideal for monitoring large open areas like parking lots or warehouses. Conversely, a longer focal length (e.g., 12mm) offers a narrower, more magnified view, perfect for identifying details like faces or license plates at a greater distance.
1.2 Angle of View (AOV): Defining the Field of Vision
In photography and videography, the Angle of View (AOV) describes the angular extent of a scene that a camera can capture. It is essentially the field of vision of the lens, often referred to as the viewing angle. Since the real-world subject is three-dimensional, the AOV can be broken down into three distinct measurements:
-
Horizontal Angle of View: The width of the captured scene.
-
Vertical Angle of View: The height of the captured scene.
-
Diagonal Angle of View: The corner-to-corner measurement of the captured scene, typically the largest value and the one most commonly advertised.
 For a lens to function correctly, its image circle—the circular image it projects—must be large enough to completely cover the rectangular sensor. If the image circle is too small, it will result in severe vignetting (darkened corners), effectively limiting the usable AOV.
1.3 The Mathematical Relationship: Connecting Focal Length and AOV
The relationship between focal length, sensor size, and angle of view is precisely defined by a standard optical formula:
θ = 2tan⁻¹(L / 2f)
Where:
-
θ is the Angle of View (in degrees).
-
L is the dimension of the image sensor (width, height, or diagonal, in millimeters).
-
f is the focal length of the lens (in millimeters).
 This formula reveals a critical insight: For a given sensor size, the Angle of View is determined solely by the focal length. It is a common misconception that a higher-resolution camera (e.g., 4K vs. 1080p) has a wider field of view. Resolution increases the detail within the AOV but does not change the AOV itself. A 4K camera and a 1080p camera with the same sensor size and lens will see the exact same area; the 4K camera will simply provide more pixels within that area.
Practical Calculation Example:
Let’s calculate the AOV for a common security configuration: a ⅓-inch sensor with a 2.8mm lens.
A ⅓-inch sensor has an active area of approximately 4.8mm (width) x 3.6mm (height) x 6.0mm (diagonal).
-
Horizontal AOV: θ_h = 2tan⁻¹(4.8 / (2 * 2.8)) = 2tan⁻¹(0.857) ≈ 81.2°
-
Vertical AOV: θ_v = 2tan⁻¹(3.6 / (2 * 2.8)) = 2tan⁻¹(0.642) ≈ 65.47°
 Major manufacturers like Hikvision, Axis, and Bosch provide online lens calculation tools based on this very principle, allowing integrators to precisely plan camera placements.
1.4 AOV and Focal Length Table
The following table illustrates the horizontal angles of view for various common sensor and focal length combinations. (Note: Data is for ideal theoretical conditions. Real-world performance may vary slightly based on specific lens design.)
| Sensor Size | 2.8mm | 3.6mm | 4mm | 6mm | 8mm | 12mm |
|---|---|---|---|---|---|---|
| 1/1.8" | 96.01° | 81.65° | 75.73° | 54.8° | 42.49° | 29.0° |
| 1/2.8" | 84.87° | 70.83° | 65.24° | 46.21° | 35.49° | 24.3° |
| 1/3" | 81.2° | 67.38° | 61.79° | 43.6° | 33.4° | 22.9° |
| 1/4" | 65.47° | 53.13° | 48.46° | 33.4° | 25.36° | 17.4° |
 Key Takeaway: A larger sensor and/or a shorter focal length results in a wider field of view. Selecting the right combination is the first step in designing an effective surveillance system. At Hector Weyl, our cameras are offered with a range of lens options to suit these diverse application needs, from ultra-wide-area monitoring to long-range identification.
Part 2: Sensor-Lens Compatibility and Image Formation
2.1 The Image Circle and Sensor Coverage
The concept of the image circle, is paramount. Every lens is designed to project a circular image of a certain diameter. The sensor, a rectangular silicon chip, sits within this circle. For optimal performance, the sensor must fit entirely within this image circle.
There are three scenarios:
-
Perfect Match: The image circle perfectly covers the sensor's diagonal. This is the ideal scenario, ensuring edge-to-edge sharpness and no light loss. This is the default assumption in most technical discussions.
-
Image Circle Too Small: If the lens's image circle is smaller than the sensor's area, the result is severe vignetting. The image will have dark, blurry corners, and the effective Angle of View will be drastically reduced. This is unacceptable for professional security applications.
-
Image Circle Too Large: If the lens's image circle is significantly larger than the sensor, it does not cause vignetting. However, it represents an inefficient use of the lens's capabilities. You are paying for optical performance that your sensor cannot utilize. The "excess" light around the edges is simply absorbed by the sensor housing.
Both sensors and lenses use imperial inches (e.g., 1/3", 1/2.8") to denote their format size, a historical carryover from vidicon tube days. It is crucial to match the lens format to the sensor format (e.g., a 1/3" lens on a 1/3" sensor) to avoid the issues above.
Part 3: Controlling Light: Aperture, f-number, and Exposure
3.1 The Role of the Aperture
The aperture is the adjustable opening within a lens that controls the amount of light passing through to the sensor. It functions like the pupil of an eye, expanding in low light and contracting in bright light. Beyond controlling light intensity, the aperture is the primary controller of depth of field (DOF).
In manufactured lenses, the diameter is fixed, so the aperture is created by an iris diaphragm—a set of overlapping metal leaves that form a roughly circular hole of variable size.
3.2 The f-number: A Standardized Measure
The size of this aperture is expressed not by its absolute diameter, but by the f-number or f-stop (e.g., f/1.4, f/2.0, f/2.8). This is a relative value calculated as follows:
N = f / D
Where:
-
N is the f-number.
-
f is the focal length.
-
D is the effective aperture diameter.
Therefore, an f-number is the ratio of focal length to aperture diameter. A lens with a 50mm focal length and an aperture diameter of 25mm has an f-number of f/2.0.
The key optical principle: The amount of light (illuminance) reaching the sensor is inversely proportional to the square of the f-number. This means:
-
f/1.4 lets in 4x more light than f/2.8 (because (2.8/1.4)² = 4).
-
f/2.0 lets in 2x more light than f/2.8 (because (2.8/2.0)² = 2).
-
Moving from one standard "full stop" (e.g., f/2.0 to f/2.8) halves the amount of light.
Standard Full f-stop scale: f/1.0, f/1.4, f/2.0, f/2.8, f/4.0, f/5.6, f/8.0, f/11, f/16, f/22...
A lower f-number (e.g., f/1.2) means:
-
A larger aperture opening.
-
More light reaches the sensor (crucial for low-light performance).
-
A shallower depth of field (background/foreground blur).
A higher f-number (e.g., f/16) means:
-
A smaller aperture opening.
-
Less light reaches the sensor.
-
A deeper depth of field (more of the scene is in focus).

For security cameras, a low f-number (a "fast" lens) is highly prized as it maximizes performance in challenging lighting conditions, a core focus of Hector Weyl's R&D in low-light imaging technologies.
3.3 Exposure Control: Beyond the Aperture
While the aperture controls light intensity, the shutter speed (exposure time) controls its duration. Security cameras use sophisticated exposure algorithms that balance aperture, shutter speed, and gain (ISO) to achieve a well-exposed image. In high-contrast scenes (e.g., a bright doorway against a dark interior), technologies like BLC (Backlight Compensation), HLC (Highlight Compensation), and True WDR (Wide Dynamic Range) are employed. WDR, in particular, involves capturing multiple exposures at high and low shutter speeds and combining them into a single image to reveal detail in both the brightest and darkest areas. Hector Weyl integrates advanced WDR processing to ensure clear imagery in even the most demanding lighting scenarios.
Part 4: Depth of Field (DOF): What's in Focus?
Depth of Field (DOF) is the distance between the nearest and the farthest objects in a scene that appear acceptably sharp in an image. It is a crucial concept for forensic review, where determining the precise zone of focus can be critical.
The depth of field is controlled by three factors:
-
Aperture (f-number): This is the most direct control. A larger aperture (lower f-number, e.g., f/1.4) produces a shallow DoF, with only a narrow plane in focus. A smaller aperture (higher f-number, e.g., f/16) produces a deep DoF, with a much larger range of distances appearing sharp.
-
Focal Length: Longer focal lengths (e.g., 50mm) compress the scene and create a shallower DoF compared to shorter focal lengths (e.g., 2.8mm) at the same aperture and distance.
-
Distance to Subject: The closer the camera is to the subject, the shallower the DoF becomes. A camera focused on an object 1 meter away will have a much shallower DoF than one focused on an object 10 meters away, even with the same lens settings.
In most general surveillance applications, a deep depth of field is desired to keep as much of the scene in focus as possible. This is often achieved automatically by the camera's software, which selects a small aperture (high f-number). However, in applications like LPR (License Plate Recognition), a shallower DoF can help isolate the plate from a busy background.
Part 5: Lens Mounts and Interfaces: The Physical Connection
The lens mount is the physical interface that connects the lens to the camera body. Precision in this connection is vital to maintain the correct flange focal distance—the exact distance from the mount to the sensor—ensuring the image can be brought into sharp focus. The security industry uses several standard mounts:
-
M12 (S-Mount): This is the most common mount for compact, board-level cameras and many fixed-dome cameras. It features a 12mm diameter thread with a 0.5mm pitch. Lenses are small, lightweight, and inexpensive. They are typically used with sensors up to 1/2.7".
-
C-Mount: An industry standard for decades, originating from cinema. It has a 1-inch diameter thread with 32 threads per inch (TPI). The flange distance is 17.526mm. C-mount lenses are larger and cover a range of sensor sizes, up to 1-inch and beyond.
-
CS-Mount: A direct descendant of the C-mount, designed for smaller sensors. It has the same thread (1", 32 TPI) but a shorter flange distance of 12.5mm. This allows for more compact camera designs. A C-mount lens can be used on a CS-mount camera with a 5mm spacer ring, but a CS-mount lens cannot be used on a C-mount camera.
-
Bayonet Mounts (e.g., F, EF, SF): Common in professional photography, these are less common in mainstream security but are used in some high-end PTZ cameras for their secure and quick-lock mechanism.
-
Large Format Mounts (M42, M58): Used primarily in machine vision and industrial applications with very large sensors, these mounts have diameters of 42mm and 58mm, respectively.
Selecting the correct mount is the first step in building a functional system. Hector Weyl cameras are designed with clearly specified mount types to ensure seamless compatibility with a vast ecosystem of lenses.
Part 6: A Taxonomy of Security Camera Lenses
Lenses can be categorized based on several key characteristics:
-
By Focal Length:
-
Fixed Focus (Prime) Lenses: Have a single, non-adjustable focal length (e.g., 2.8mm, 6mm, 12mm). They are simple, reliable, and often have better optical performance and lower cost than zooms. Ideal for fixed, known scenes.
-
Varifocal Lenses: Offer a range of focal lengths (e.g., 2.8-12mm) that can be manually adjusted during installation. This provides great flexibility to fine-tune the field of view on-site without moving the camera.
-
Motorized Zoom Lenses: Can be adjusted remotely via software or PTZ controls. Essential for PTZ cameras, allowing operators to zoom in on areas of interest.
-
-
By Focus and Iris Control:
-
Fixed Iris: The aperture size is fixed. Simple and cheap, but only suitable for environments with constant lighting.
-
Manual Iris: The aperture can be manually adjusted during installation for a specific light level.
-
Auto Iris (AI): The lens automatically adjusts the aperture based on the light level in the scene. This is critical for outdoor applications. Types include:
-
DC Iris: The aperture is controlled by a DC motor integrated into the lens, receiving power directly from the camera.
-
Video Drive Iris: The lens contains its own circuitry to analyze the video signal and adjust the iris. Less common today.
-
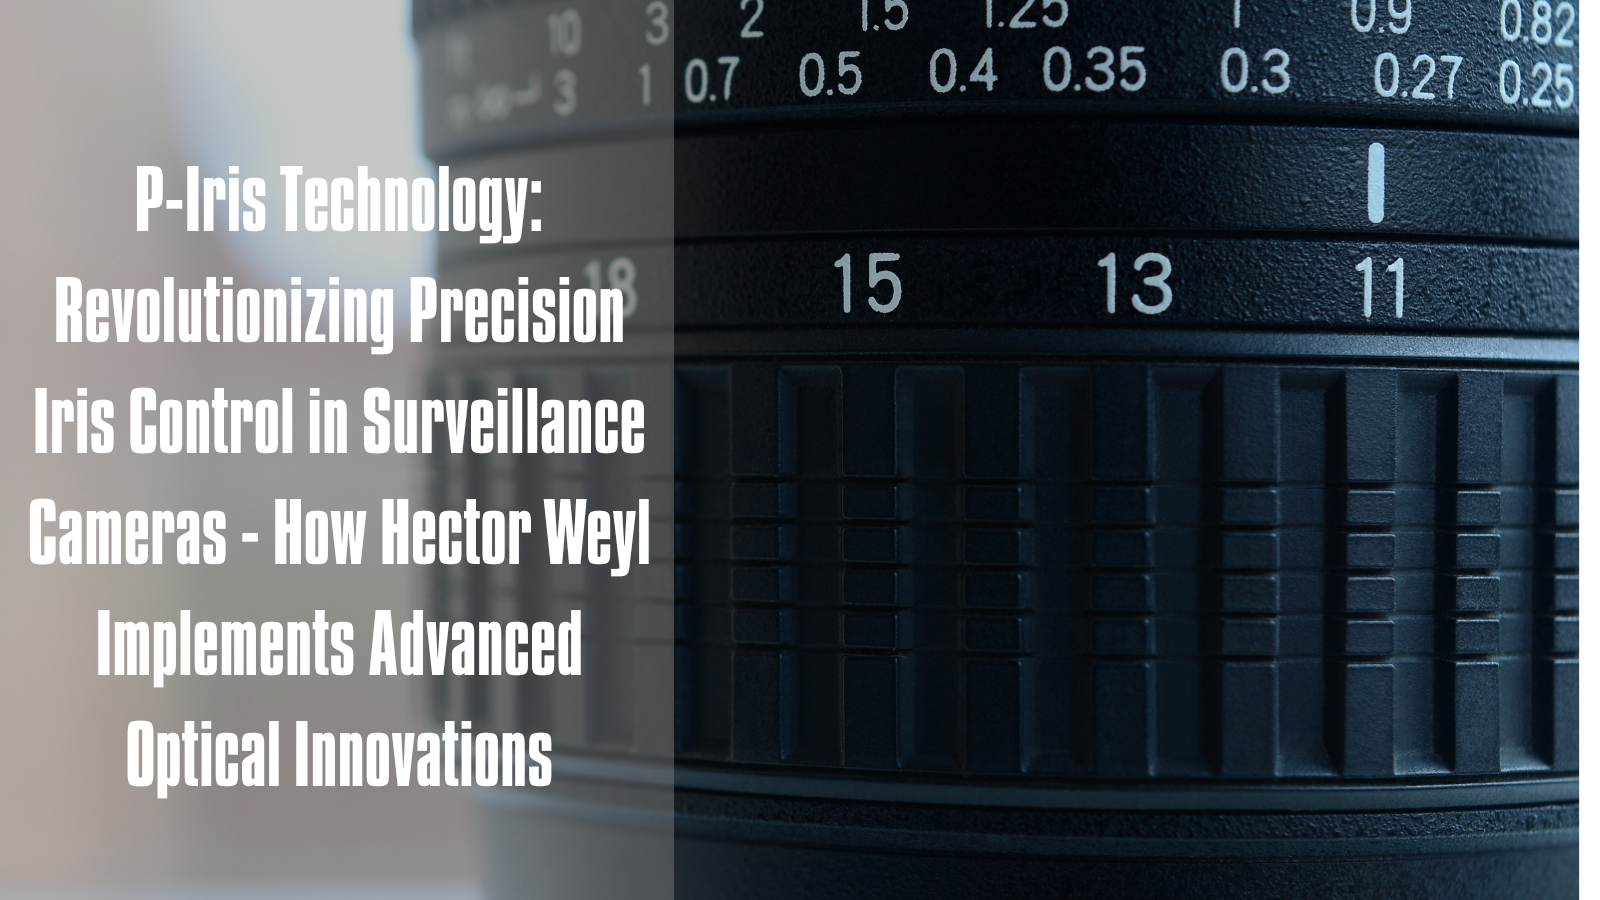
P-Iris: A more advanced, precise auto iris system developed by Axis and Kowa. Instead of just opening and closing, a stepper motor positions the iris at an optimal f-stop to maximize depth of field and sharpness, avoiding the diffraction blur that occurs at very small apertures.
-
-
-
By Specialized Function:
-
Day/Night Lenses: Corrected for chromatic aberration across both visible and near-infrared (NIR) light. Standard lenses focus light differently for different wavelengths, causing blurriness in IR mode. Day/Night lenses are designed to maintain focus when the camera switches to night (IR) mode.
-
IR Corrected (Astro) Lenses: Specifically designed for excellence in near-infrared wavelengths, often used with specialized IR illumination.
-
Varifocal with IR Correction: Combines the flexibility of a zoom lens with the focus stability of a day/night lens.
-
Fisheye Lenses: Provide an ultra-wide hemispherical view (e.g., 180° or 360°). The resulting distorted image must be "de-warped" by software to create usable views. (Their unique properties warrant a separate, detailed article.)
-
Telecentric Lenses: Used in machine vision for precise measurement, as they provide minimal perspective error.
-
Megapixel Lenses: Engineered to resolve the fine detail required by high-resolution sensors (5MP, 4K, 12MP+). A standard definition lens will act as a bottleneck on a 4K sensor.
-
Part 7: Optical Design, Materials, and Performance Evaluation
7.1 Lens Construction and Materials
A camera lens is rarely a single piece of glass. It is a complex assembly of multiple lens elements (groups) designed to correct for various optical aberrations. A designation like "2G3P" indicates the lens contains 2 glass elements and 3 plastic elements.
-
Glass Lenses: Offer superior optical clarity, higher refractive indices, and better resistance to scratching and environmental degradation. They are more expensive and heavier.
-
Plastic (Polymer) Lenses: Are lighter, cheaper, and easier to mold into complex aspherical shapes, which are excellent for correcting spherical aberration. However, they are more prone to scratching and can have lower transmittance and greater susceptibility to heat/humidity.
High-quality security lenses, like those specified by Hector Weyl, often use hybrid designs, strategically employing glass for critical elements and aspherical plastic elements to control costs and weight while maintaining high performance.
7.2 Evaluating Lens Performance: Beyond the Spec Sheet
How do we objectively measure the quality of a lens? Several key metrics are used:
-
Modulation Transfer Function (MTF): This is the most scientific and comprehensive method for evaluating lens performance. MTF measures the lens's ability to transfer contrast from the subject to the image at various levels of detail (spatial frequencies). A graph shows how contrast drops from the center of the image to the edges and from coarse to fine details. A higher, flatter MTF curve indicates a superior lens. While a powerful tool, MTF does not capture every aspect of perceived image quality, such as color rendition or distortion.
-
Transmittance (Transmission Rate): This measures the percentage of light that actually passes through the lens to reach the sensor. No lens is perfectly transparent; some light is always lost due to reflection, absorption, and scattering. High-quality multi-layer anti-reflective coatings can boost transmittance to over 99% per element, significantly improving overall light throughput and contrast.
-
Resolution (Line Pairs per Millimeter - lp/mm): This measures the finest detail a lens can resolve. It is tested using a standard chart with increasingly tight black and white lines. The point where the lens can no longer distinguish the lines is its resolution limit. A lens's resolution must be matched to the sensor's; a low-resolution lens will waste the potential of a high-megapixel sensor.
-
Aberration Control: This refers to the lens's ability to minimize optical flaws:
-
Chromatic Aberration: The failure of the lens to focus all colors to the same point, resulting in color fringing, especially on high-contrast edges.
-
Spherical Aberration: Blurring caused by light rays passing through the edges of a spherical lens converging at a different point than those passing through the center.
-
Distortion: A geometric imperfection causing straight lines to bow inward (pincushion distortion) or outward (barrel distortion).
-
Diffraction: An unavoidable optical effect that causes blurring when using very small apertures (high f-numbers like f/16 or f/22).
-
Technologies like Low-Dispersion (ED, SD) glass and aspherical elements are used by lens manufacturers to combat these aberrations. For example, Canon's DO (Diffractive Optics) elements use a diffraction grating to correct chromatic aberration in a much smaller and lighter package than traditional glass.
Conclusion: The Strategic Importance of the Lens
In conclusion, the lens is far more than a simple piece of glass on the front of a camera. It is a sophisticated optical engine that dictates the fundamental capabilities of any surveillance system: what can be seen (AOV), how clearly it can be seen (resolution, MTF), and under what conditions it can be seen (aperture, transmittance). Choosing the right lens is not an afterthought; it is a critical strategic decision that directly impacts the effectiveness and return on investment of a security deployment.
At Hector Weyl, our commitment to redefining imaging performance extends to a deep understanding of lens optics. We meticulously select and integrate lenses that are perfectly matched to our advanced CMOS sensors, ensuring that our cameras deliver exceptional clarity, reliability, and intelligence in the most complex scenarios. From the wide-angle overview to the telephoto identification shot, the lens is the first and most crucial link in the imaging chain, and we engineer our solutions to make that link as strong as possible.






Share:
H.265/HEVC: The Engine of High-Definition Security - A Hector Weyl Technical Exploration
A Comprehensive Guide to Security Cables: Types, Standards, and Applications